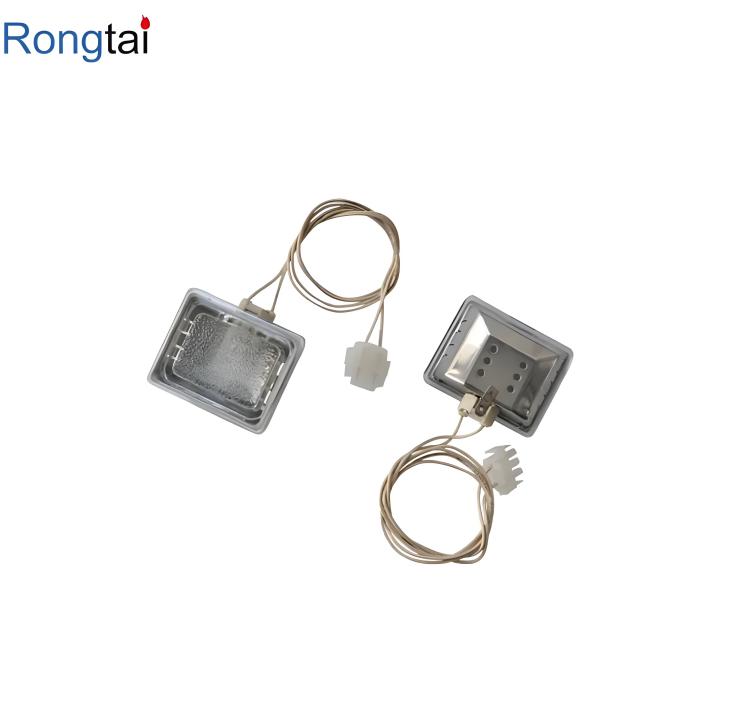
Before You Start
First, safety basics. Turn off the oven at the circuit breaker or unplug it. Allow the oven to cool completely if it's been running. The Oven Lamp and surrounding metal can reach 500°F during operation. Patience prevents burns.
Identifying Your Bulb Type
Most modern ovens use a halogen G9 capsule bulb (120V, 25-40W) with a glass cover secured by a wire clip. Older models use a standard appliance bulb (E26 base, 40W). Check your user manual or remove the current Oven Lamp and match the base and wattage exactly. Using the wrong bulb—especially higher wattage—can damage the socket or blow your Thermocouple if heat escapes into the control cavity.
The Five-Minute Replacement
-
Remove the glass cover. It's usually held by a spring clip or threaded ring. Use a dry cloth for grip and twist counterclockwise.
-
Unscrew the old Oven Lamp counterclockwise. If it's stuck from heat expansion, avoid excessive force — the glass can shatter. Use rubber grips or pliers wrapped in tape for gentle torque.
-
Install the new bulb by screwing it in clockwise until snug. Don't overtighten — the glass base and metal socket expand differently when hot, and overtightening can crack the Oven Lamp on the first heating cycle.
-
Reattach the glass cover. Ensure it's fully seated—a loose cover can trap heat and cause premature burnouts.
-
Restore power and test. The Oven Lamp should illuminate immediately. If it doesn't, check the socket for corrosion or consider testing continuity with a multimeter.
Why It Matters
Beyond convenience, an illuminated oven cavity ensures safe cooking. You can check browning, monitor roasting, and spot spills before they carbonize and affect food quality. And unlike a failing Thermocouple or a faulty Hot Surface Igniter, a burnt-out Oven Lamp doesn't require gas or circuit expertise—just a simple bulb swap.
Pro Tips
-
Keep spare G9 halogen bulbs or E26 appliance bulbs in your pantry. They're under $10 and expire unpredictably.
-
When handling the new Oven Lamp, avoid touching the glass with bare fingers. Oils from your skin create hot spots that reduce bulb life. Use a cloth or tissue.
-
If the bulb and glass cover are intact but the light doesn't work, test the socket for 120VAC with a multimeter. If there's no voltage, the issue may be a failed control board or door switch, not the Oven Lamp itself.
When to Call a Pro
If the new Oven Lamp still doesn't work after verifying voltage, stop. The problem could involve internal wiring, a faulty door switch, or damage to the control board. Similarly, if your oven isn't heating alongside a burnt-out bulb, suspect the Hot Surface Igniter or Thermocouple in gas models — those are technician-level jobs.
In most cases, however, you'll restore full visibility and finish cooking in the time it takes to preheat. That's a five-minute win for any kitchen.